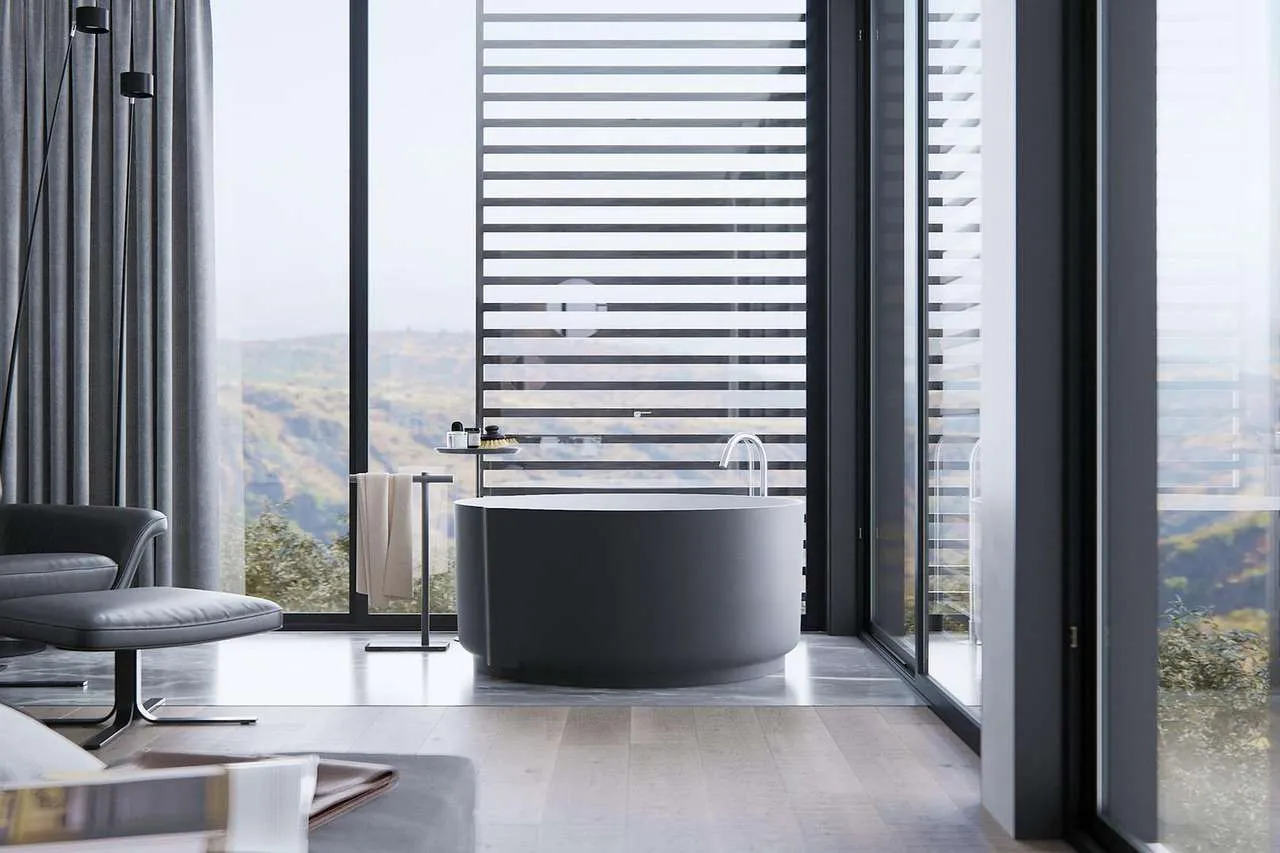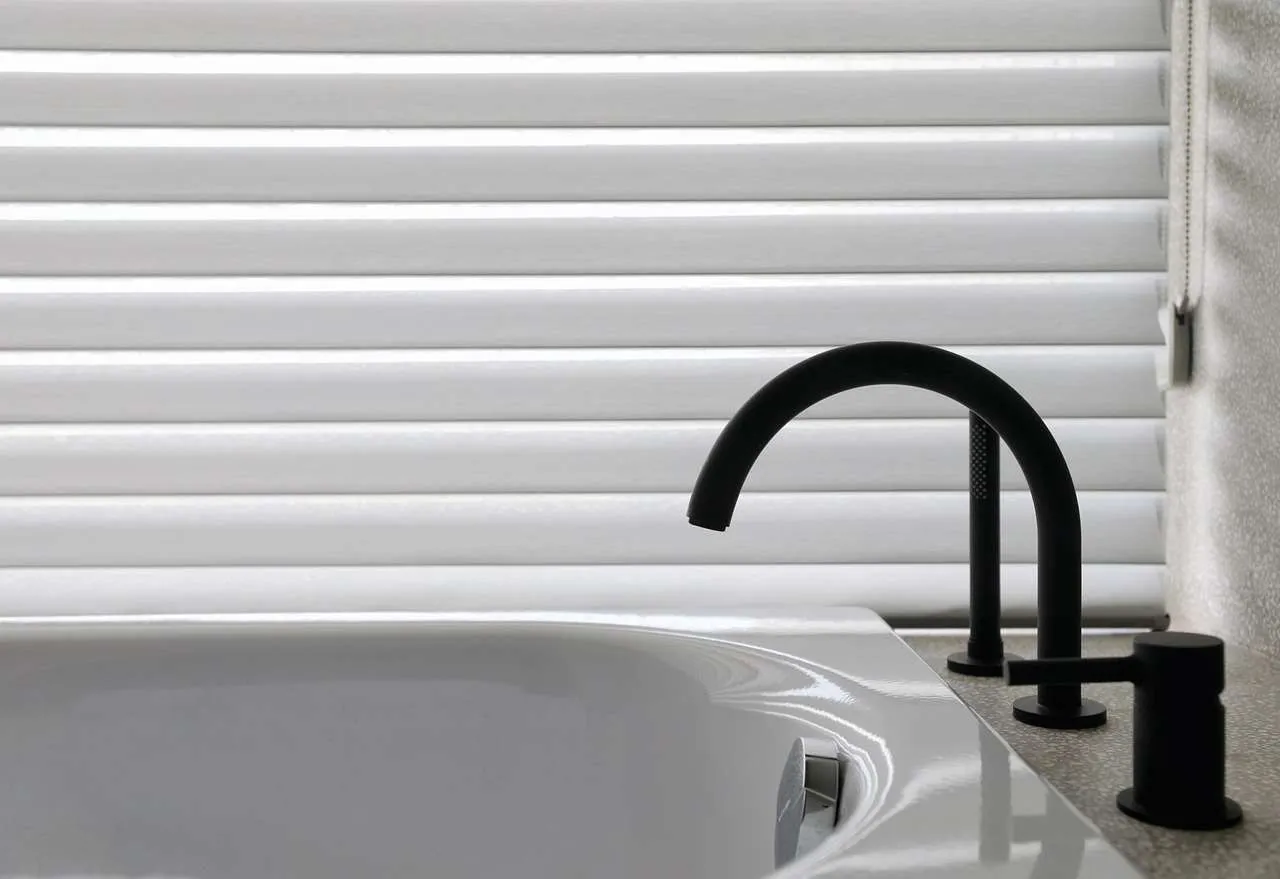
Window tint for home is a practical upgrade that enhances comfort, protects furnishings, and lowers energy bills. By applying a heat-rejecting film to residential windows, homeowners can reduce glare, block UV rays, and improve privacy without sacrificing daylight. This guide covers why it's worth considering, how to choose the right film, installation options, and maintenance tips while keeping safety and local regulations in mind.
Why window tint for home matters
Smart residential tinting delivers several tangible benefits:
- Energy savings: Heat rejection reduces the load on cooling systems, especially in sunny rooms.
- UV protection: Most films block up to 99% of UV rays, helping to protect floors, furniture, and skin.
- Glare reduction: Lower glare makes screens easier to view and rooms more comfortable year-round.
- Privacy and aesthetics: A range of tints provides daytime privacy and a clean, modern look.
- Safety and security: Some films help hold glass together if a pane breaks, adding a safety layer.
Note that performance depends on the film type, window size, orientation, and climate. For best results, pair tinting with energy-efficient glass and proper framing where appropriate.
Types of window tint films for homes
Dyed window film
Affordably reduces glare and adds color to glass. Pros: low cost; Cons: can fade in sun and offers modest heat rejection.
Metalized (metal) film
Reflects heat and improves strength. Pros: strong heat rejection; Cons: may interfere with electronics and presents a reflective look.
Ceramic window film
High-end option with strong heat rejection and minimal interference. Pros: excellent UV rejection, non-metallic; Cons: higher upfront cost.
Hybrid film
A blend of dyed and metal/ceramic components. Pros: balanced performance and cost; Cons: performance varies by product.
Choosing the right film for your home
To select the best option, consider:
- Sun exposure and room use (east/west-facing rooms gain more heat).
- Glass type, existing coatings, and frame condition.
- Local laws and HOA rules about front windows or glazed areas.
- Privacy needs, daylight transmission, and aesthetic preference.
- Budget, warranty, and installer reputation.
DIY vs professional installation
While some homeowners attempt DIY tinting, professional installation is recommended for glass safety, edge sealing, and a bubble-free finish. Pros offer warranties, precise cut-and-apply techniques, and proper cleaning to avoid damage. DIY kits can be suitable for small panes or temporary needs, but mistakes can lead to peeling, discoloration, or voided warranties.
Maintenance and care
Clean only with soft microfiber cloths and mild, non-ammonia cleaners. Avoid rough scrubbing and harsh chemicals that can degrade film over time. Regular inspections help identify edge lift or delamination early, making repairs easier and preserving the film's performance.
Comparison at a glance
| Film Type | Pros | Cons | Typical VLT | Estimated Cost |
|---|---|---|---|---|
| Dyed | Low cost; glare control | Fades over time; modest heat rejection | 30–60% | 2–4 $/sq ft |
| Metalized | Excellent heat rejection; durability | Possible electronics interference; visible reflectivity | 20–60% | 3–5 $/sq ft |
| Ceramic | Strong heat rejection; UV protection; no metal | Higher upfront cost | 40–70% | 6–12 $/sq ft |
| Hybrid | Balanced performance | Variable quality across brands | 25–65% | 4–8 $/sq ft |
Conclusion, window tint for home offers a practical upgrade that blends comfort, protection, and efficiency. By selecting the right film type, considering climate and local regulations, and working with a qualified installer, homeowners can achieve lasting value and a cooler, brighter living space.